I remember the first time I tried to do my makeup in a hurry—running out the door for an event, juggling a crying baby, and trying to look halfway presentable. Let’s just say the outcome wasn’t exactly the glowing, radiant look I had in mind. Fast forward to now, and I’ve learned that makeup doesn’t have to be a complicated or stressful task. With the right steps, a few tools, and a little patience, you can achieve a flawless look in no time.
So, if you’ve ever wondered how to apply makeup step by step with pictures (because let’s be real, we all need a little visual help sometimes), keep reading. I’m going to break it down for you, step by step, in a way that’s easy to follow and, most importantly, practical for a busy mom like you!
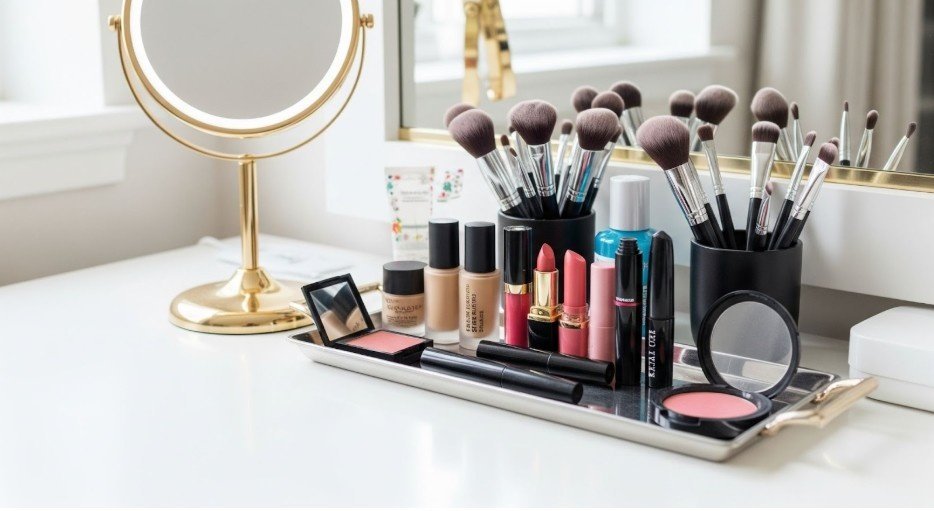
What Do You Need to Apply Makeup?
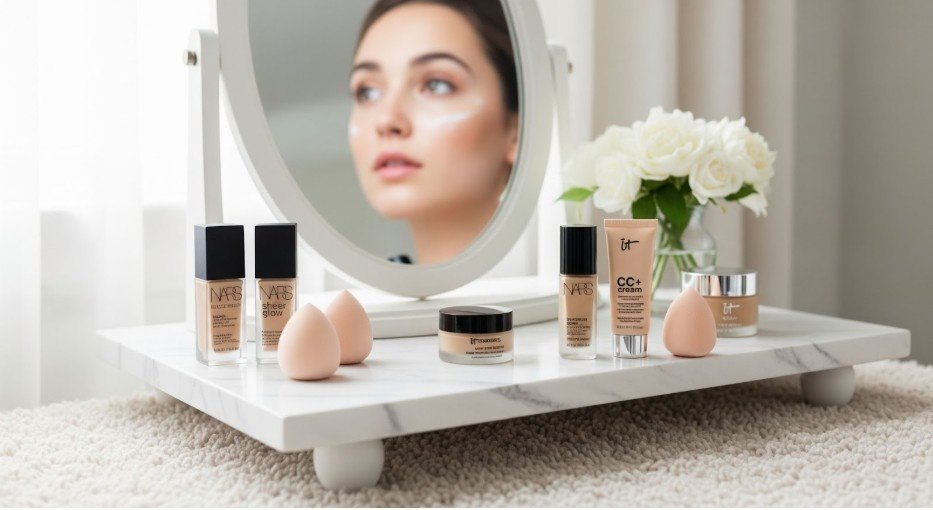
Before you begin, it’s essential to gather the necessary tools. Makeup is an art, but you don’t need to be a professional artist to make it work for you! Here’s a quick list of what you’ll need to start:
- Primer: Helps your makeup last longer and gives your skin a smooth surface.
- Foundation: Provides an even base to your skin.
- Concealer: To cover blemishes, dark circles, or any imperfections.
- Eyeshadow: For adding color and dimension to your eyes.
- Mascara: To make your lashes pop.
- Blush: For a healthy glow.
- Lipstick or Lip Gloss: To finish off your look.
These are the basics, and I promise you’ll feel like a pro once you get the hang of it!
How to Apply Makeup Step by Step: The Basics
Step 1: Start with Clean, Moisturized Skin
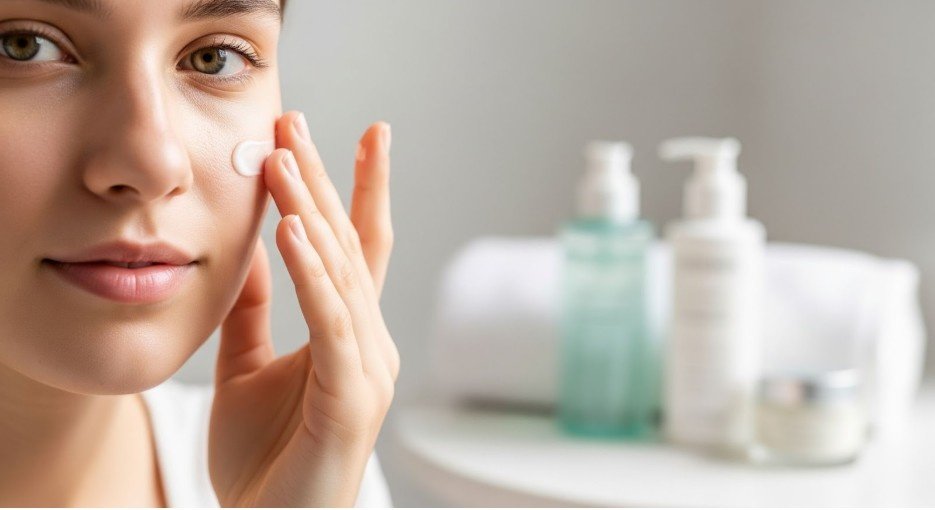
You’ll always get better results if you start with a clean, hydrated canvas. I’ve found that a good skincare routine goes a long way in prepping your skin for makeup. Wash your face with a gentle cleanser, then apply a moisturizer. If you’re in a rush, use a moisturizer with SPF to kill two birds with one stone!
Now, let’s move on to the fun part: makeup!
Step 2: Apply Primer
Once your skin is prepped, grab your primer. Think of primer as a protective layer for your skin. It helps create a smooth base for your makeup, fills in pores, and can even mattify or add radiance depending on your formula.
Use your fingertips or a makeup brush to apply a small amount of primer to your face. Focus on areas that tend to get oily or where your makeup doesn’t usually stay—like your T-zone or around the nose.
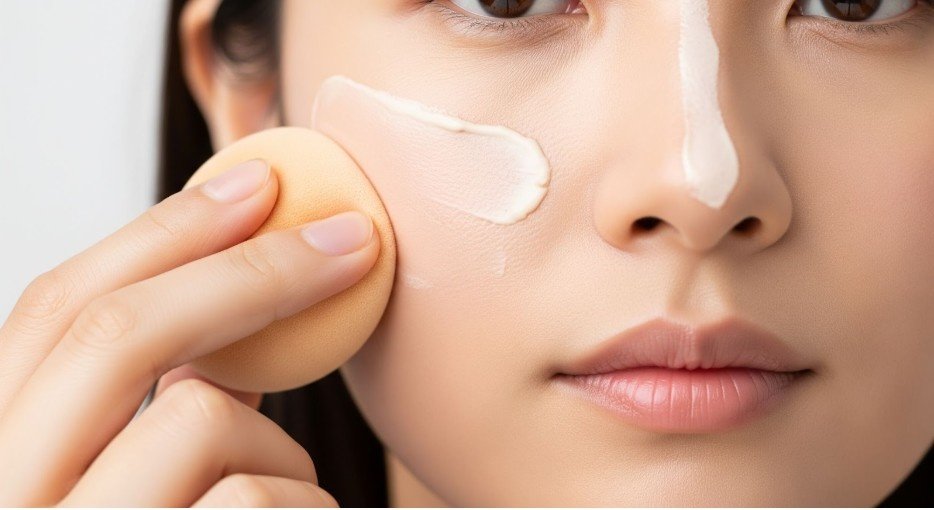
Step 3: Foundation
Foundation is your best friend when you want to even out your skin tone and create a flawless base. The key to a great foundation application is blending. I usually go for a liquid or cream foundation, depending on my mood (and how much time I have!).
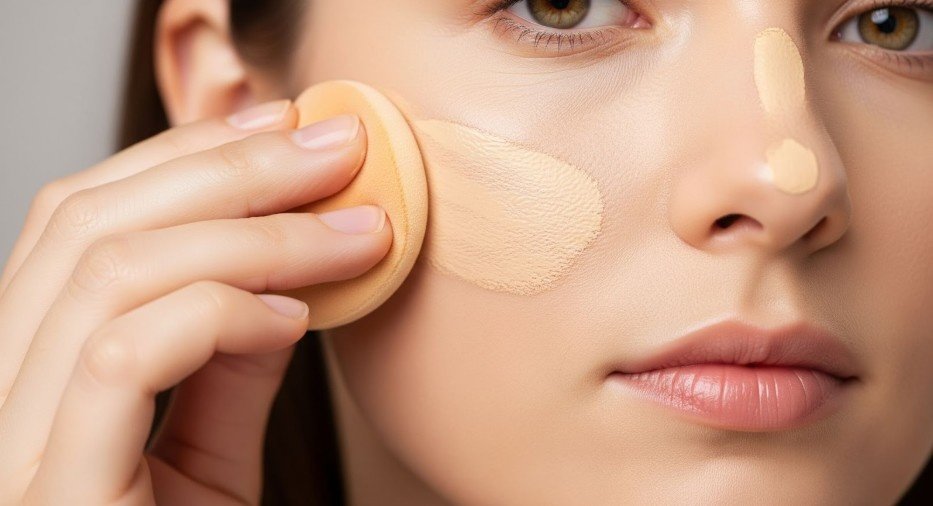
- Start by applying foundation to the center of your face—on your forehead, nose, chin, and cheeks.
- Use a makeup sponge or foundation brush to blend it in, working outwards toward the jawline. Blend well into your neck to avoid any harsh lines.
- If you need more coverage, apply a second layer and blend it evenly.
Step 4: Concealer
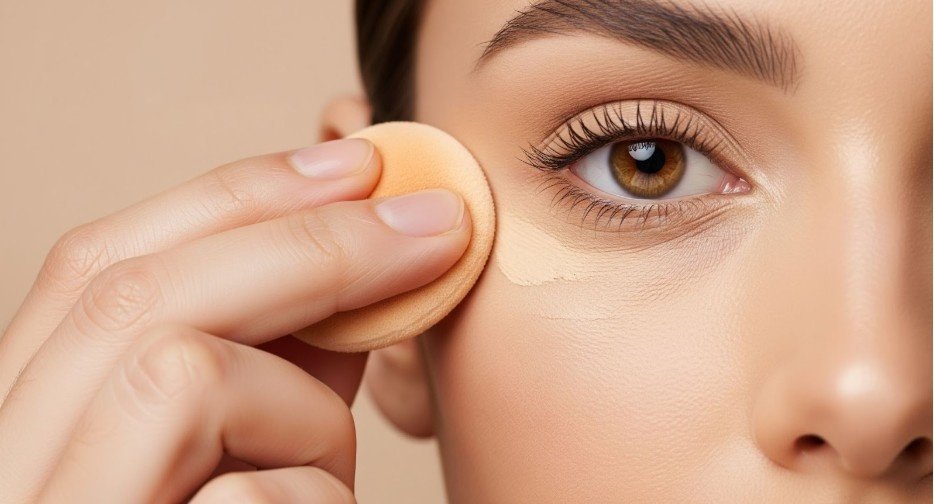
Next, let’s tackle any imperfections, blemishes, or dark circles. Concealer is a game-changer. I love to apply it under my eyes, in a triangle shape, to brighten up the face.
- Dab the concealer gently under your eyes and blend it in. I find using a makeup sponge helps for a seamless finish.
- You can also use concealer to spot-treat any blemishes or redness on your face.
Step 5: Set with Powder
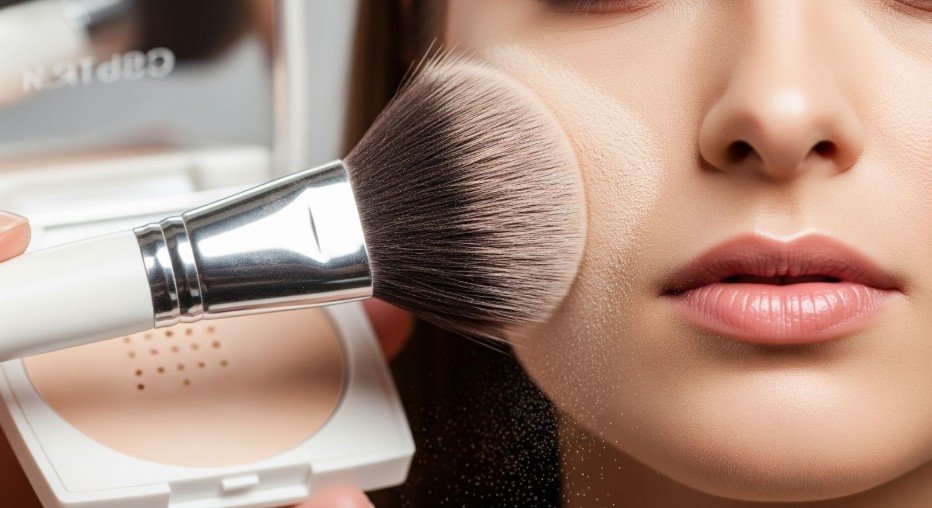
Now that your foundation and concealer are in place, it’s time to lock everything in with a setting powder. This helps to absorb any excess shine and keep your makeup in place all day. You don’t need a lot—just a light dusting to set things.
Use a fluffy powder brush to apply powder lightly across your face, especially under the eyes, around the nose, and on your forehead.
Step 6: Add Color with Blush
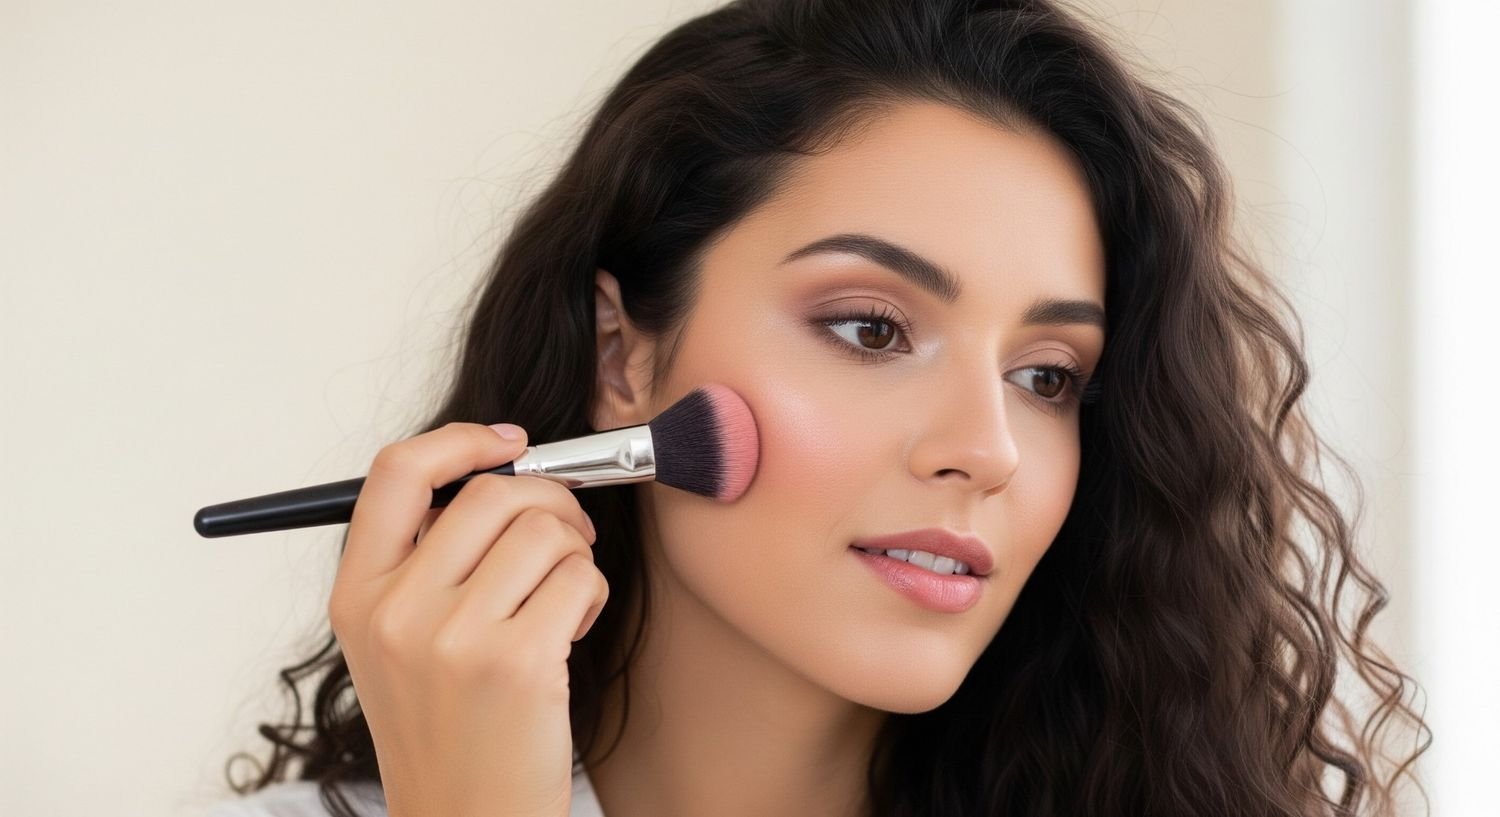
Next up: blush. A little color on your cheeks goes a long way in adding warmth and life to your face. Apply blush to the apples of your cheeks and blend upwards towards your temples for a natural flush.
- Powder blush works great, but if you want a more dewy finish, try a cream blush. It gives you that healthy, glowing look that looks fresh and radiant.
Step 7: Eyeshadow
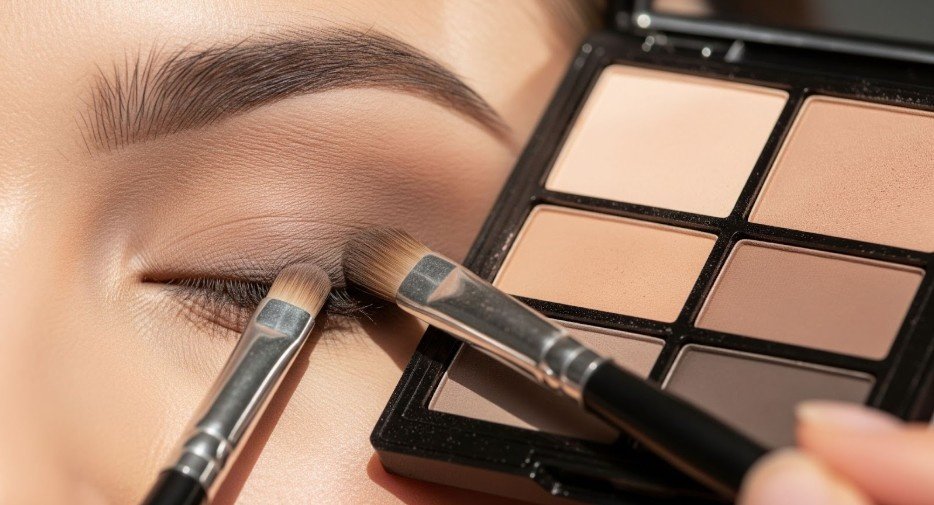
Eyeshadow is where you can really have some fun. For everyday wear, I like to keep it simple and neutral, but you can always play with colors depending on your mood!
- Start with a neutral base shade that’s close to your skin tone and apply it all over your eyelid.
- Next, choose a slightly darker shade for the crease of your eyelids to add dimension. Blend, blend, blend!
- Finish off with a pop of shimmer or highlight in the inner corners of your eyes to make them look bigger and brighter.
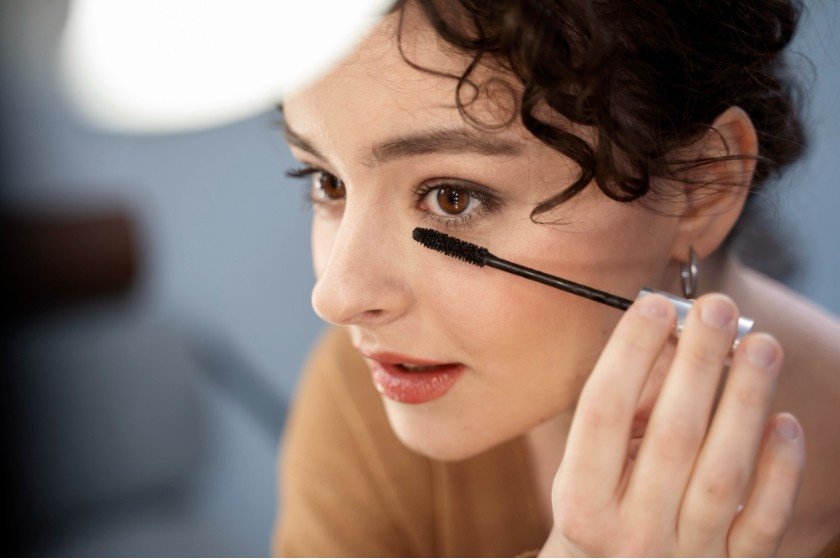
Step 8: Mascara
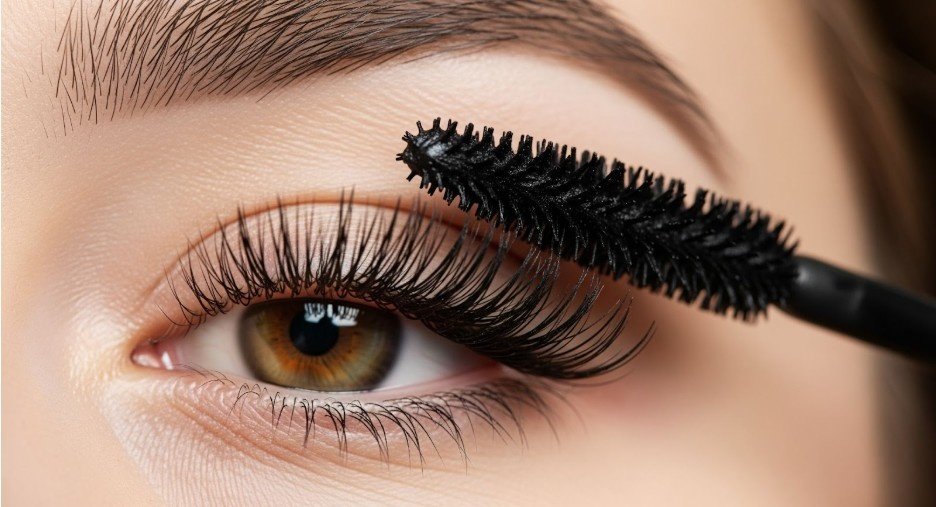
Mascara is the magic wand that makes your lashes stand out! To get that voluminous, long-lash look, I recommend starting at the base of your lashes and wiggling the wand as you move upwards.
- Apply one coat, and if you want extra drama, add another layer once the first coat dries.
- Don’t forget your lower lashes for a more balanced look.
Step 9: Lips
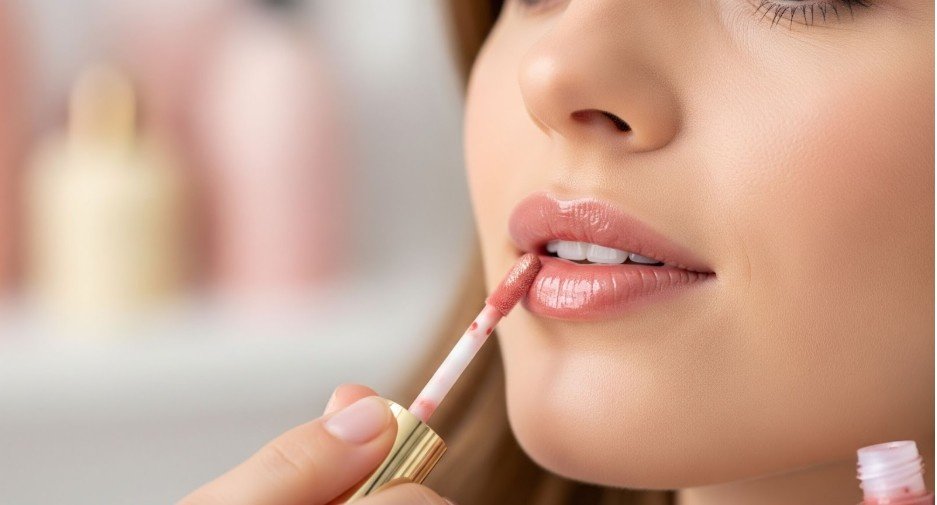
To finish off your makeup, apply your favorite lipstick or gloss. Go for a nude shade for a more natural look, or add a pop of color with red, berry, or pink tones.
- Lipsticks are great for a matte finish, but if you prefer a more hydrated look, go for a gloss or tinted balm.
- If you want longer-lasting color, apply a lip liner before lipstick to define the shape of your lips.
Frequently Asked Questions
1. How do I apply makeup if I’m short on time?
When you’re in a rush, prioritize your base. Apply foundation or a tinted moisturizer, a quick sweep of mascara, and some lip balm or gloss. If you have a couple more minutes, add blush and a little concealer under your eyes for a fresh look. Simple and effective!
2. What should I do if my makeup starts to fade during the day?
If your makeup starts to fade, consider carrying a compact powder or setting spray with you. A quick spritz or powder touch-up will bring your makeup back to life. You can also use a blotting paper to absorb any excess oil without disturbing your makeup.
3. What’s the best makeup for a natural look?
For a natural, everyday look, go for lightweight foundations like BB cream or tinted moisturizer. Stick to neutral eyeshadow shades and use a light hand with blush and highlighter. A simple nude lip and a coat of mascara will finish it off.
4. Can I skip primer if I’m in a hurry?
If you’re short on time, you can skip primer, but it helps to give your makeup a smoother base and longer wear. If you skip it, just make sure to moisturize well before applying foundation for a more hydrated finish.
Makeup Magic: The Final Touch
Now that you know how to apply makeup step by step, it’s all about experimenting with your style and finding what works for you. Makeup doesn’t have to be overwhelming or stressful, even on those busy mornings. Once you get the hang of the basics, you’ll be able to create a variety of looks that feel like you.
And remember, practice makes perfect. So, take a deep breath, grab your favorite products, and start creating your next masterpiece. You’ve got this!